
Adding texture to a design is a simple and easy way to make it look more interesting. While this is a pretty straightforward thing to do in Photoshop, in InDesign this option is tucked away. Here's how you find it:
- Create your frame and fill it with the desired colour.

- While the frame is selected, go to Object > Effects > Inner glow in the top navigation bar.
- In the options section of the dialogue box push the noise slider up to 100% (or as much as it suits you).
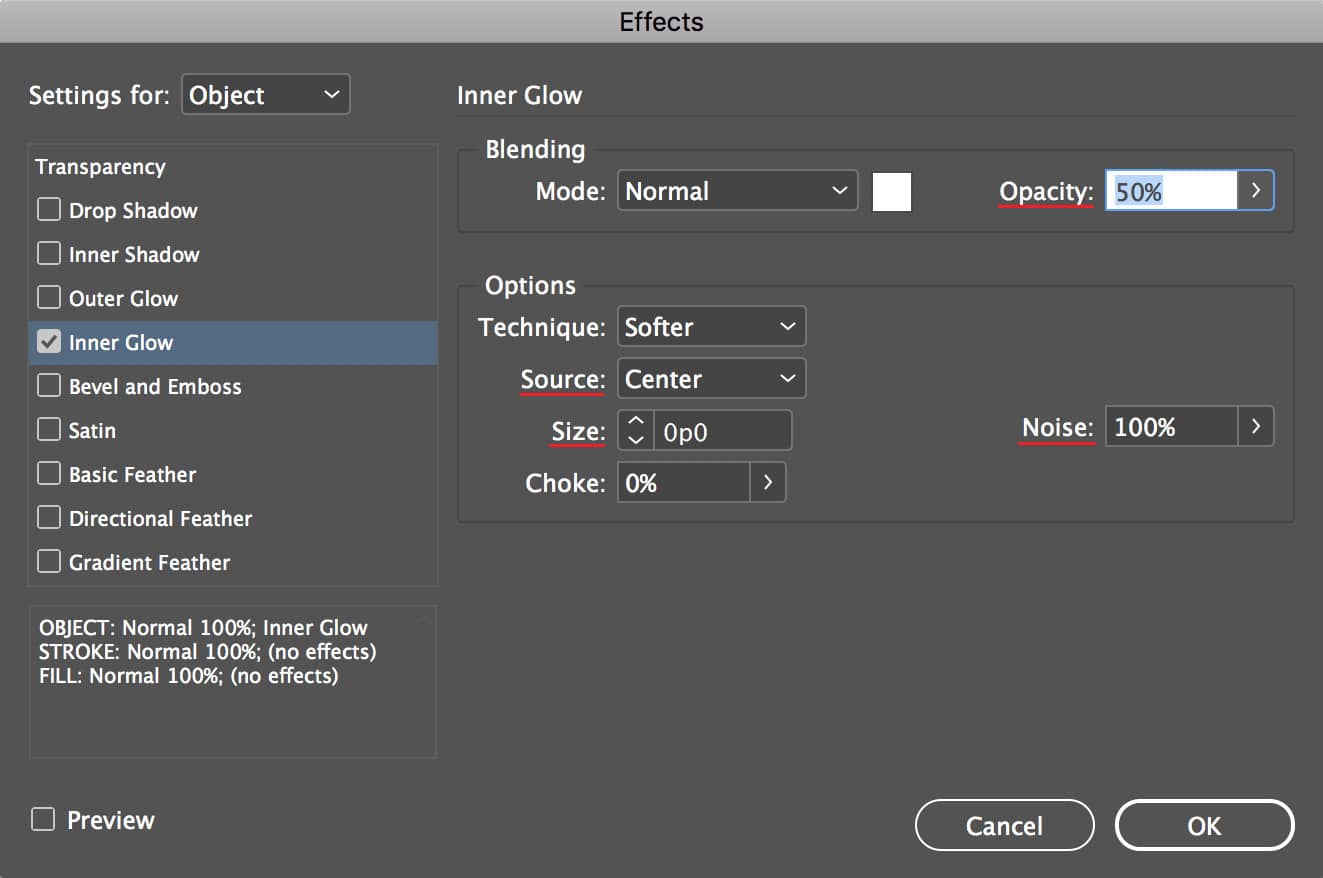
- Change the source to ‘centre’ and the size to 0.
- You can change the blending mode to ‘normal’ if you like, however this will depend on what colour you select the noise to be, so play with this option a bit and see what works for you.
- The effect will be quite strong, so lower the opacity to suit your taste.
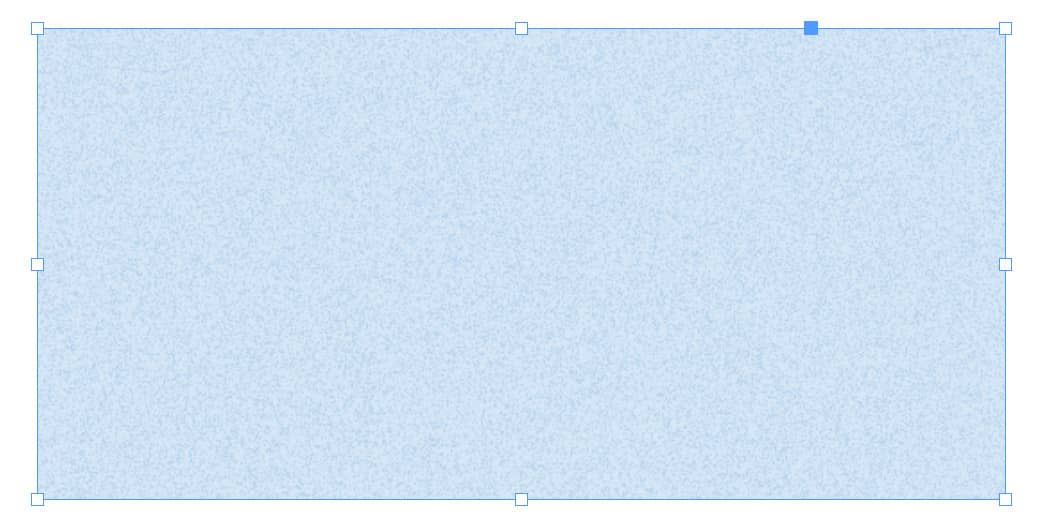
There you go – instant noise texture in InDesign.
Here's a video if you'd like a follow the full process:


